Guides
Getting started
- Installation
- Server
- Package repository (pacman and APT)
- Child's computer (Linux)
- Child's computer (Windows)
- Settings in the web interface
Operation
- Updates
- Backup and restore
- Data retention
- Switching to PostgreSQL (one-time)
- Uninstalling (child's computer)
- Games (Steam, Heroic)
Security
Settings in the web interface
On this page
Per child (the child’s page):
Screen time: weekly schedule with daily allowance and allowed hours (weekdays and weekend, or each day separately).
Game limit (“of which games” in the weekly schedule): at most this many minutes of games per day (Steam, Heroic and apps in the “Games” group, not the launchers; see Games). Warnings 5 and 1 minute before, then games are closed; the rest of the computer stays usable. Empty = no limit. Further apps count as games if the “Game” box next to the app is ticked in the app list (e.g. Roblox or the Minecraft launcher; apps in the “Games” group are always games).
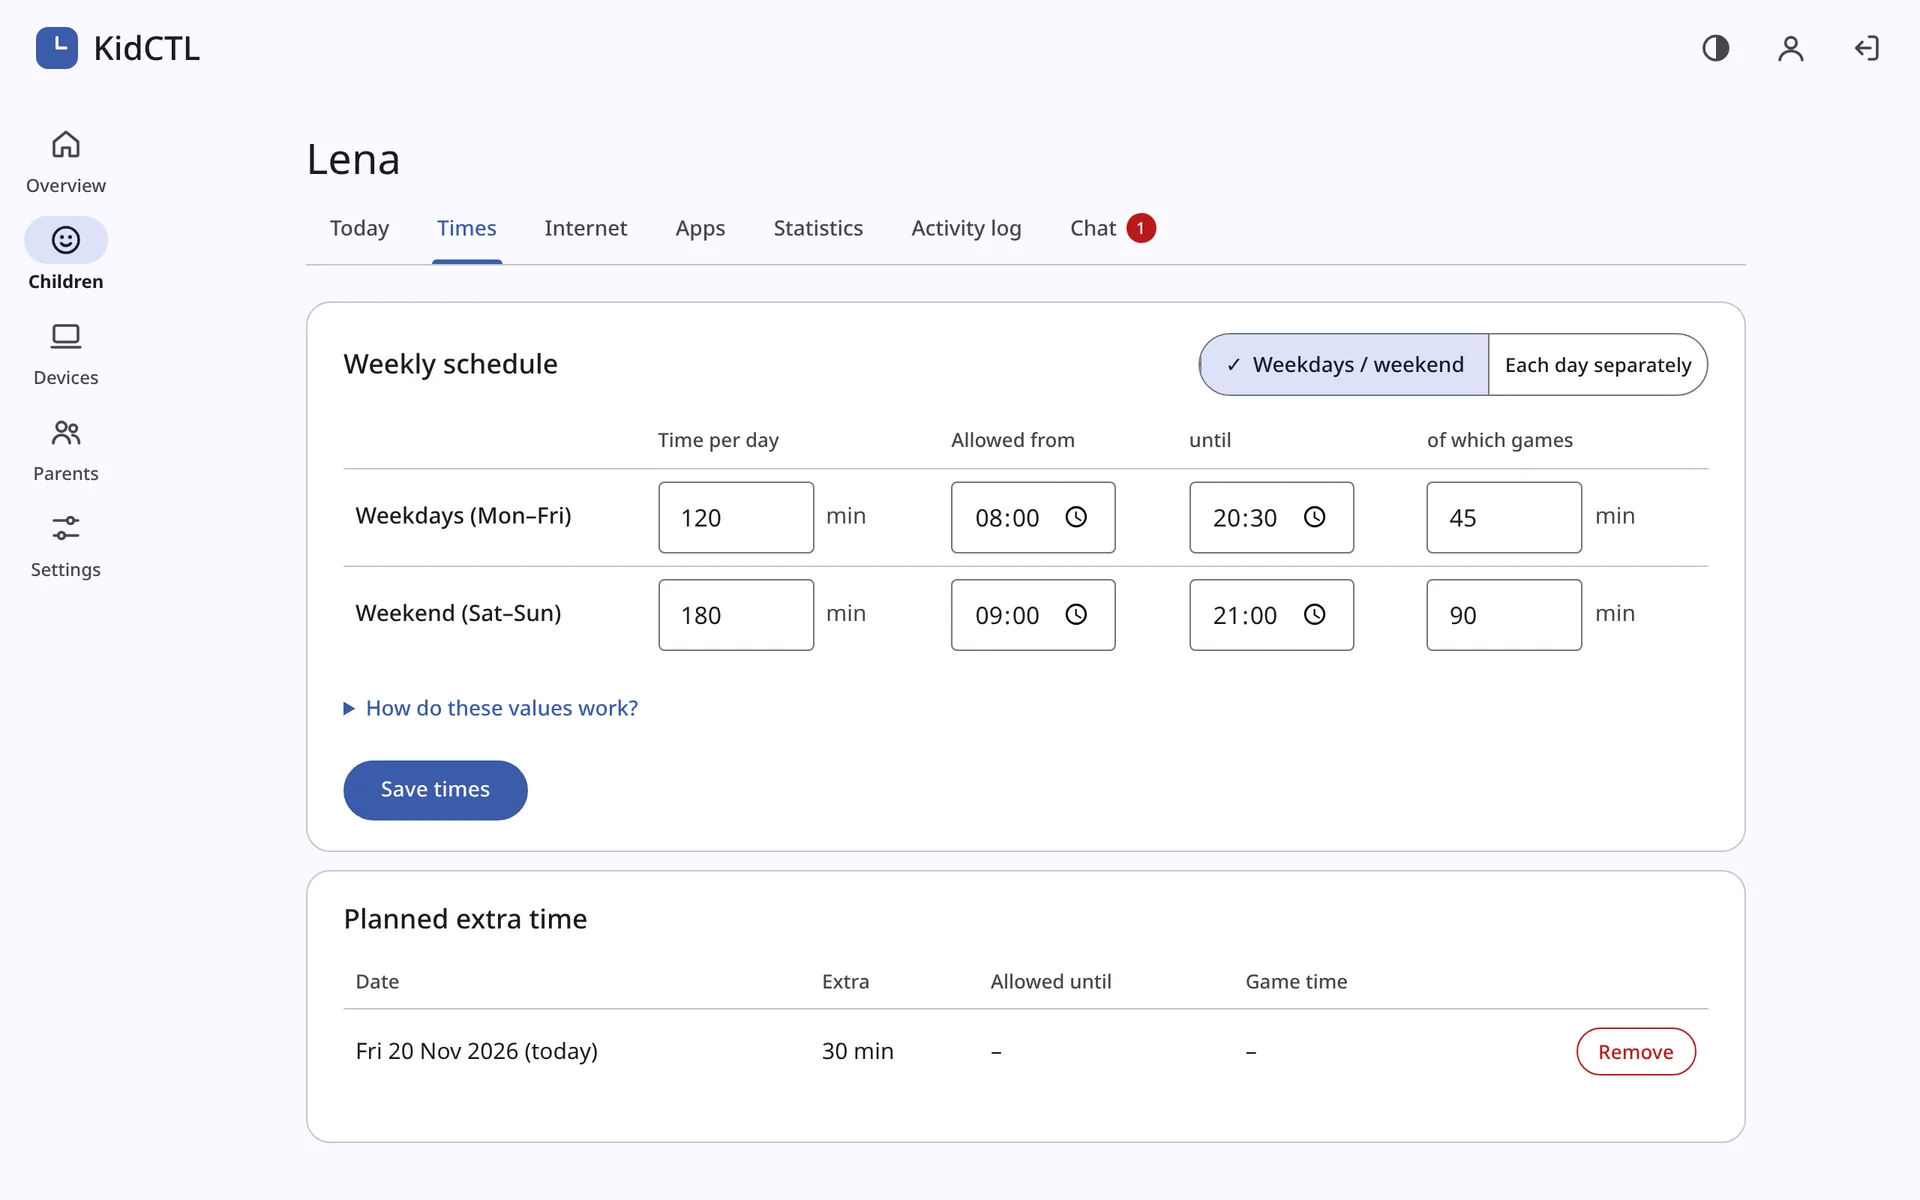
Add time: extra minutes, longer allowed hours or extra game time for a specific date. Extension and game time requests from the tray app can also be approved directly in the chat.
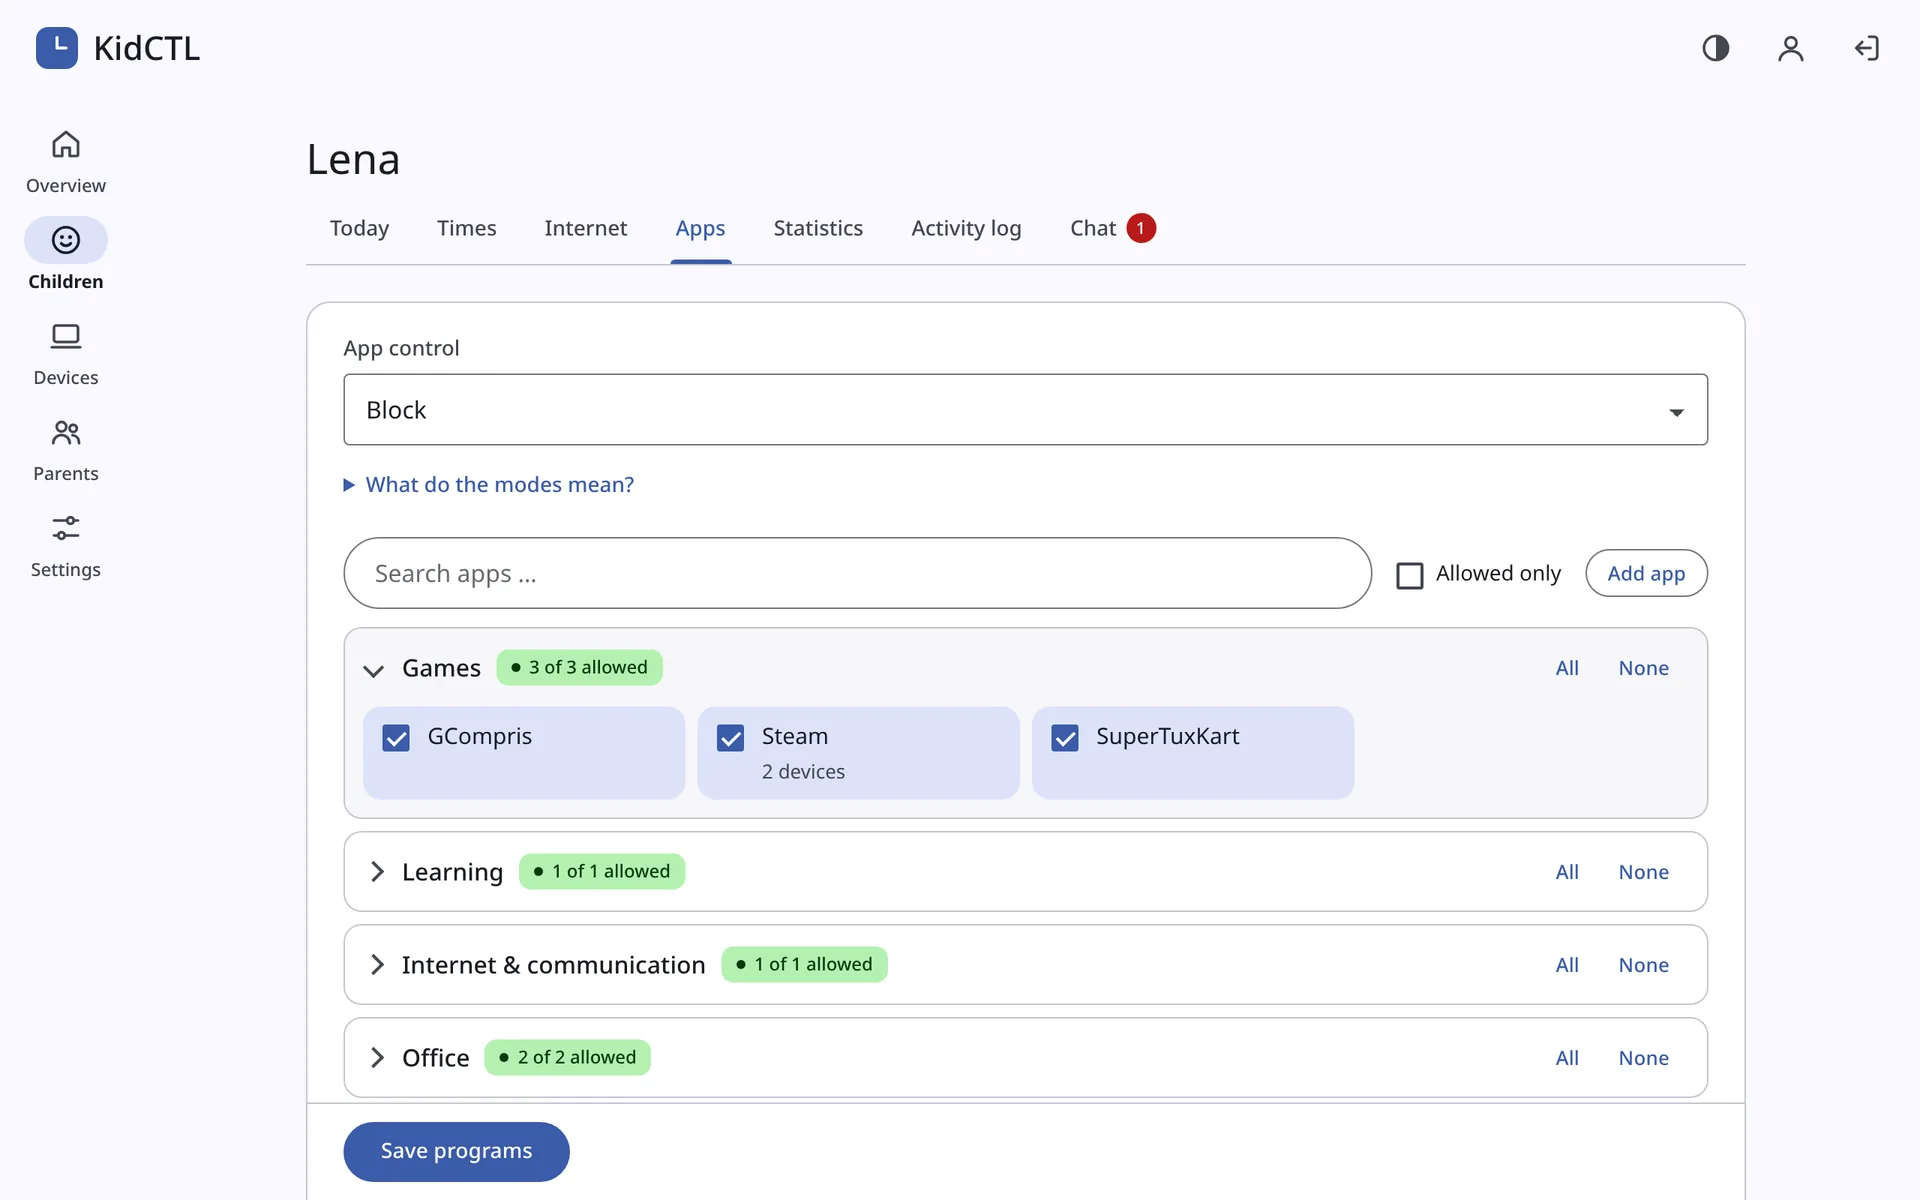
Apps:
- Off
- Monitor only: recommended to start with, to see what is being used.
- Block: only allowed apps. The catalogue fills with what the computer reports. Steam can only be allowed as a whole.
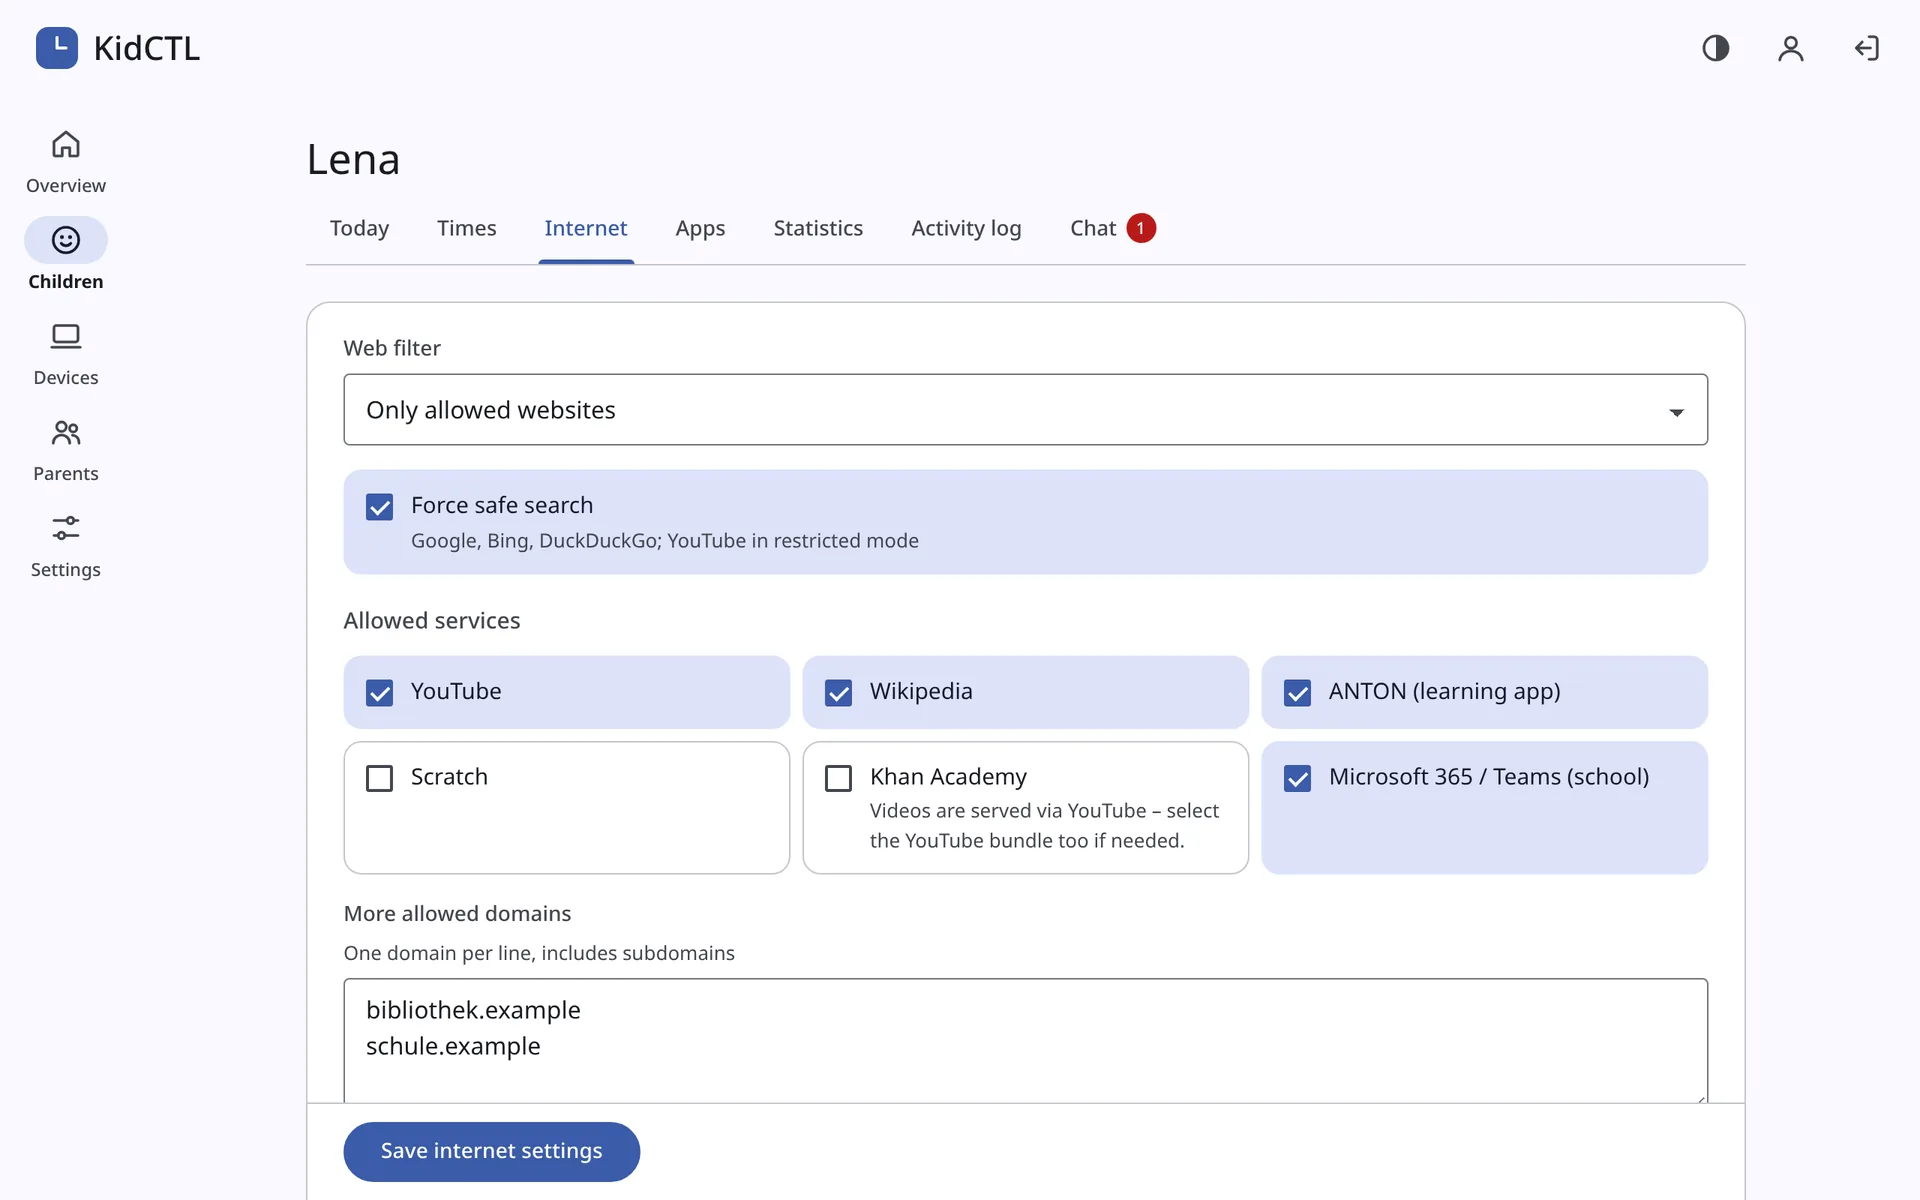
Internet (web filter):
- Off
- Allow list: only what is allowed. There are bundles such as YouTube, Wikipedia, learning apps or Microsoft 365.
- Block list: block lists, e.g. HaGeZi Multi + NSFW, plus your own blocks and exceptions.
- SafeSearch per child.
Statistics: usage over the last 14 days and time per app.
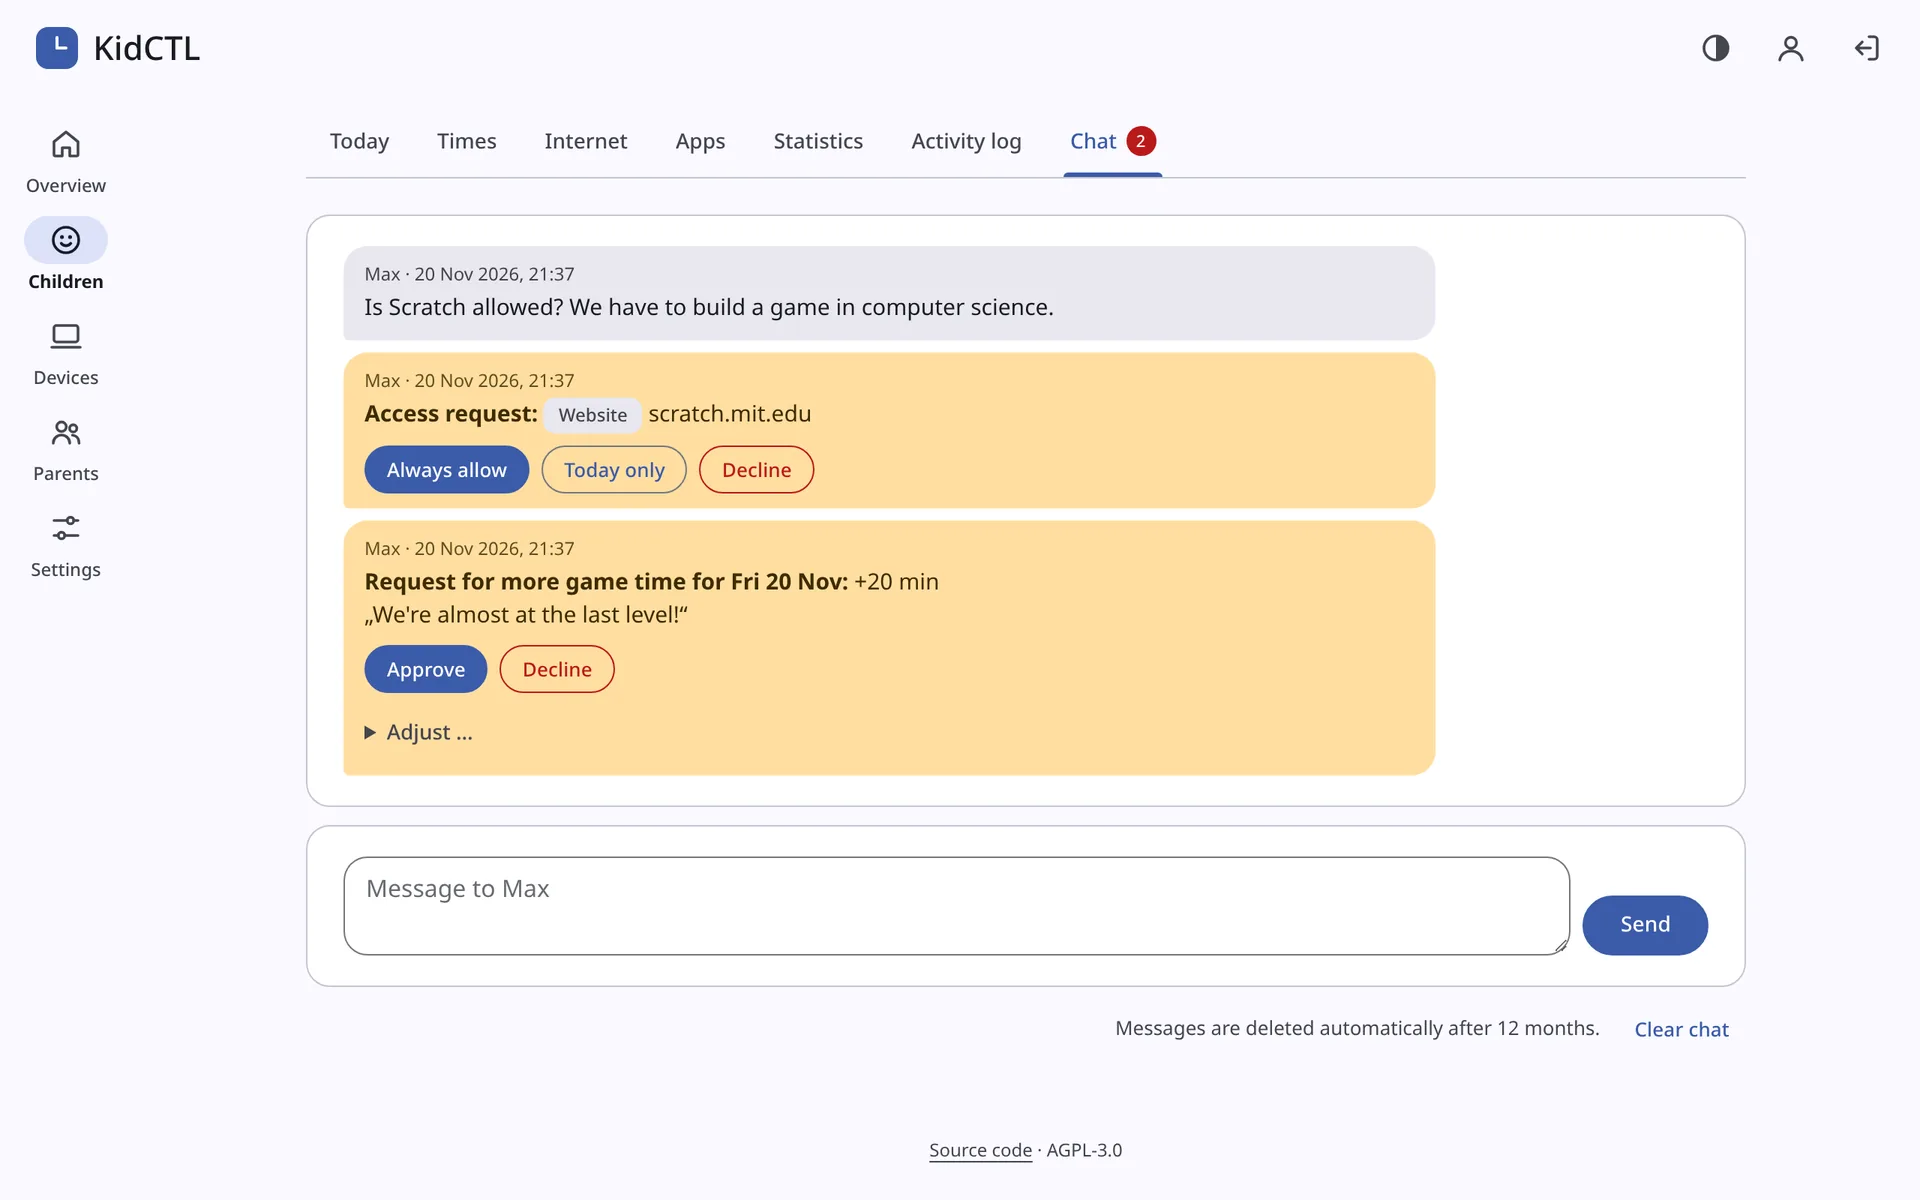
Access requests: when an app is blocked, the notification on the child’s computer has the button “Ask for access”. The child requests blocked websites via the tray menu “Blocked – ask for access …”. The request appears in the chat (with push) with Always allow, Today only (valid until midnight) or Decline. Permanent approvals then appear in the app or website list and can be withdrawn there.
Per device: alert when the device has been offline for more than X hours (default 48 h).
Signing in and passkeys
Signing in takes two steps: first email address and password, then the code from the authenticator app. A passkey is more convenient: you sign in with your fingerprint, face or device PIN, without password and code. The email field suggests saved passkeys, or use the “Sign in with a passkey” button.
- Create: Profile → “Passkeys”. First you briefly confirm that it is you: with password and code or with an existing passkey. The confirmation lasts 5 minutes. Then enter a name and tap “Add passkey”. This way you create one on your phone and one on your computer. Passkeys from iCloud or Google are marked as “synced”.
- Deleting and changing your password or authenticator require the same fresh confirmation. Every new or deleted passkey triggers a notification email.
- Recovery: “Forgot password” and resetting the authenticator remove all passkeys of the account. They have to be created again afterwards. “Sign out all sessions” keeps passkeys.
- Password and authenticator always remain available for signing in, also without JavaScript.
Note
Passkeys are bound to the server’s address (e.g. kids.example.org). If the server moves to another domain, all
passkeys have to be created again.
Language
KidCTL speaks English and German. Parents choose the language in their profile (default: browser language).
On the child’s computer, the language of the child’s desktop session applies (Plasma: System Settings →
Region & Language; GNOME: Settings → System → Region & Language); before sign-in on GNOME
the language chosen there, otherwise the system language from /etc/locale.conf. Everything that doesn’t
start with de results in English.
Edit on GitHub · German is the source; please change both languages.